The deadline for the 7th Venus Index Transformation Contest on April 15th is quickly approaching. This article is part of a 3 part series to help gear you up with ideas on how to make your photo shoot fun and successful. We will cover posing practice, lighting, photography, scene setup, water load and deplete, bikini and shoe selection, tanning and other grooming ideas.
Preparing for your contest photo shoot – Part 1: Posing practice
When it comes to taking good pictures getting in shape is only part of the equation; it is the most important part but you still have to learn how to “present yourself” once you get there. Posing is something you should start practicing now if you want successful pictures. It takes some effort and can be tiring. Like most “training” it works well if you can spread it out over time so you can rest in between sessions. This gives you time to mull things over and come up with creative ideas to try out for the next session. Always try to end your sessions on a positive note.
We already have a tutorial with Loren Jacobson and an interview with her; there is much to learn from Loren’s experience and wisdom. I’ve tried this type of posing with a group of competition girls and it is hard; it takes practice.
One of the very first Venus contest winners, Alisha McGinn, did a phenomenal job with with taking pictures. She took first place in two contests. You can see the pictures and listen to what she did to make them so awesome during her interviews for the 1st Venus Index Transformation Contest and the 3rd Venus Index Transformation Contest.
Alisha is one of the first pioneers of the Venus Index program and her driving force, dedication, and trust in John and Brad have enabled most of us to enjoy new features of this program like the Reverse Taper Diet of which she is featured on the cover.
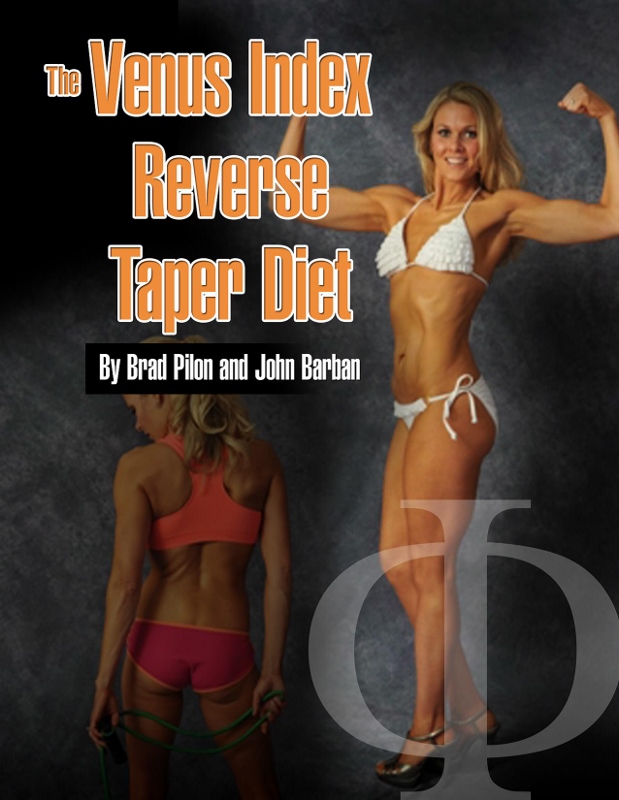
Alisha did so well on her photo shoot that her picture is featured on the cover of the Reverse Taper Diet manual
The Reverse Tape Diet manual and calorie calculator are included with the Immersion product.
Mandatory poses
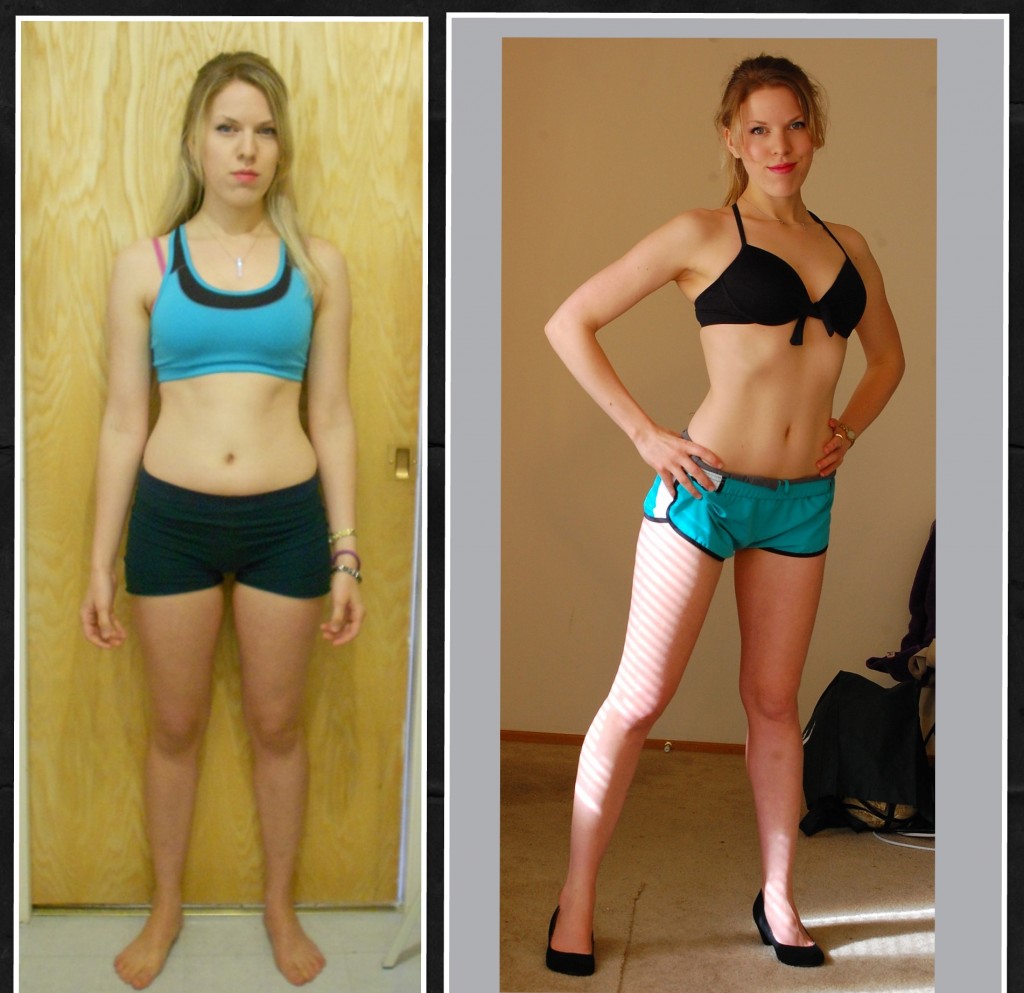
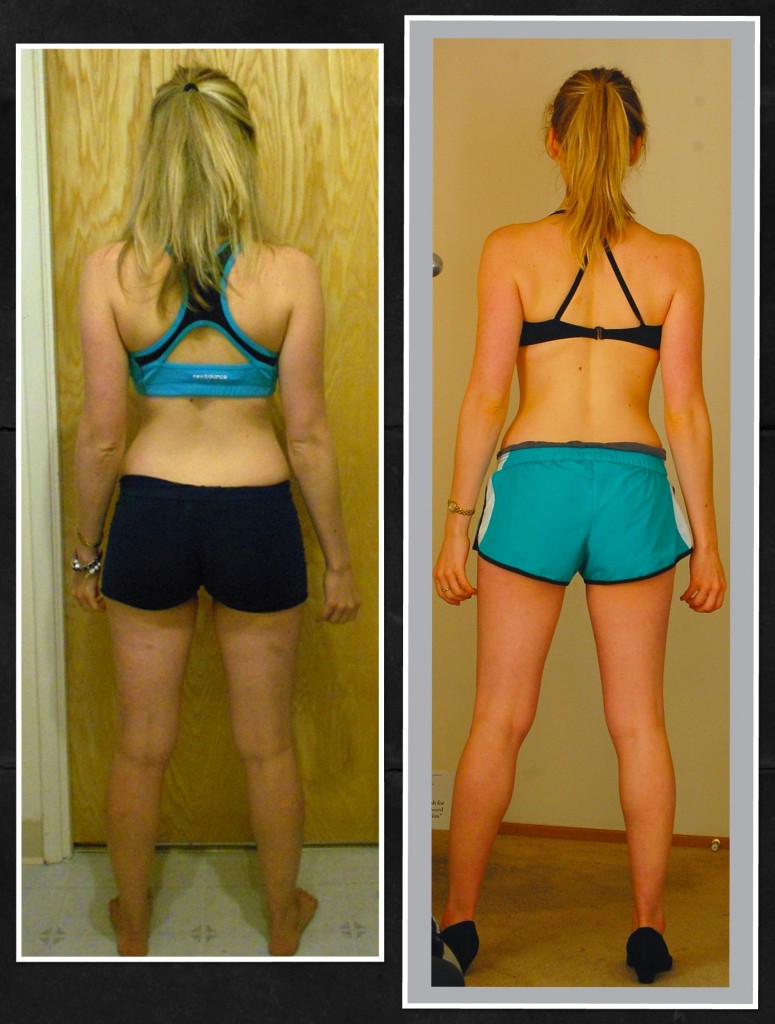
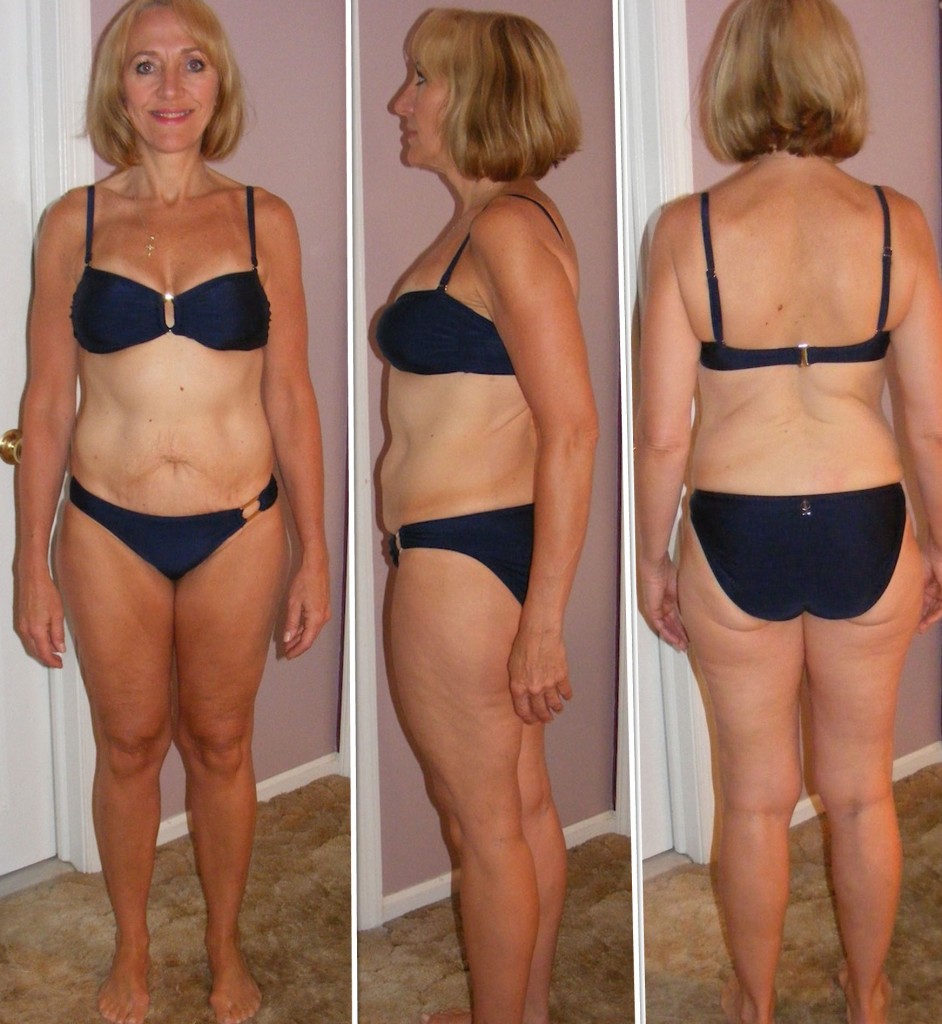
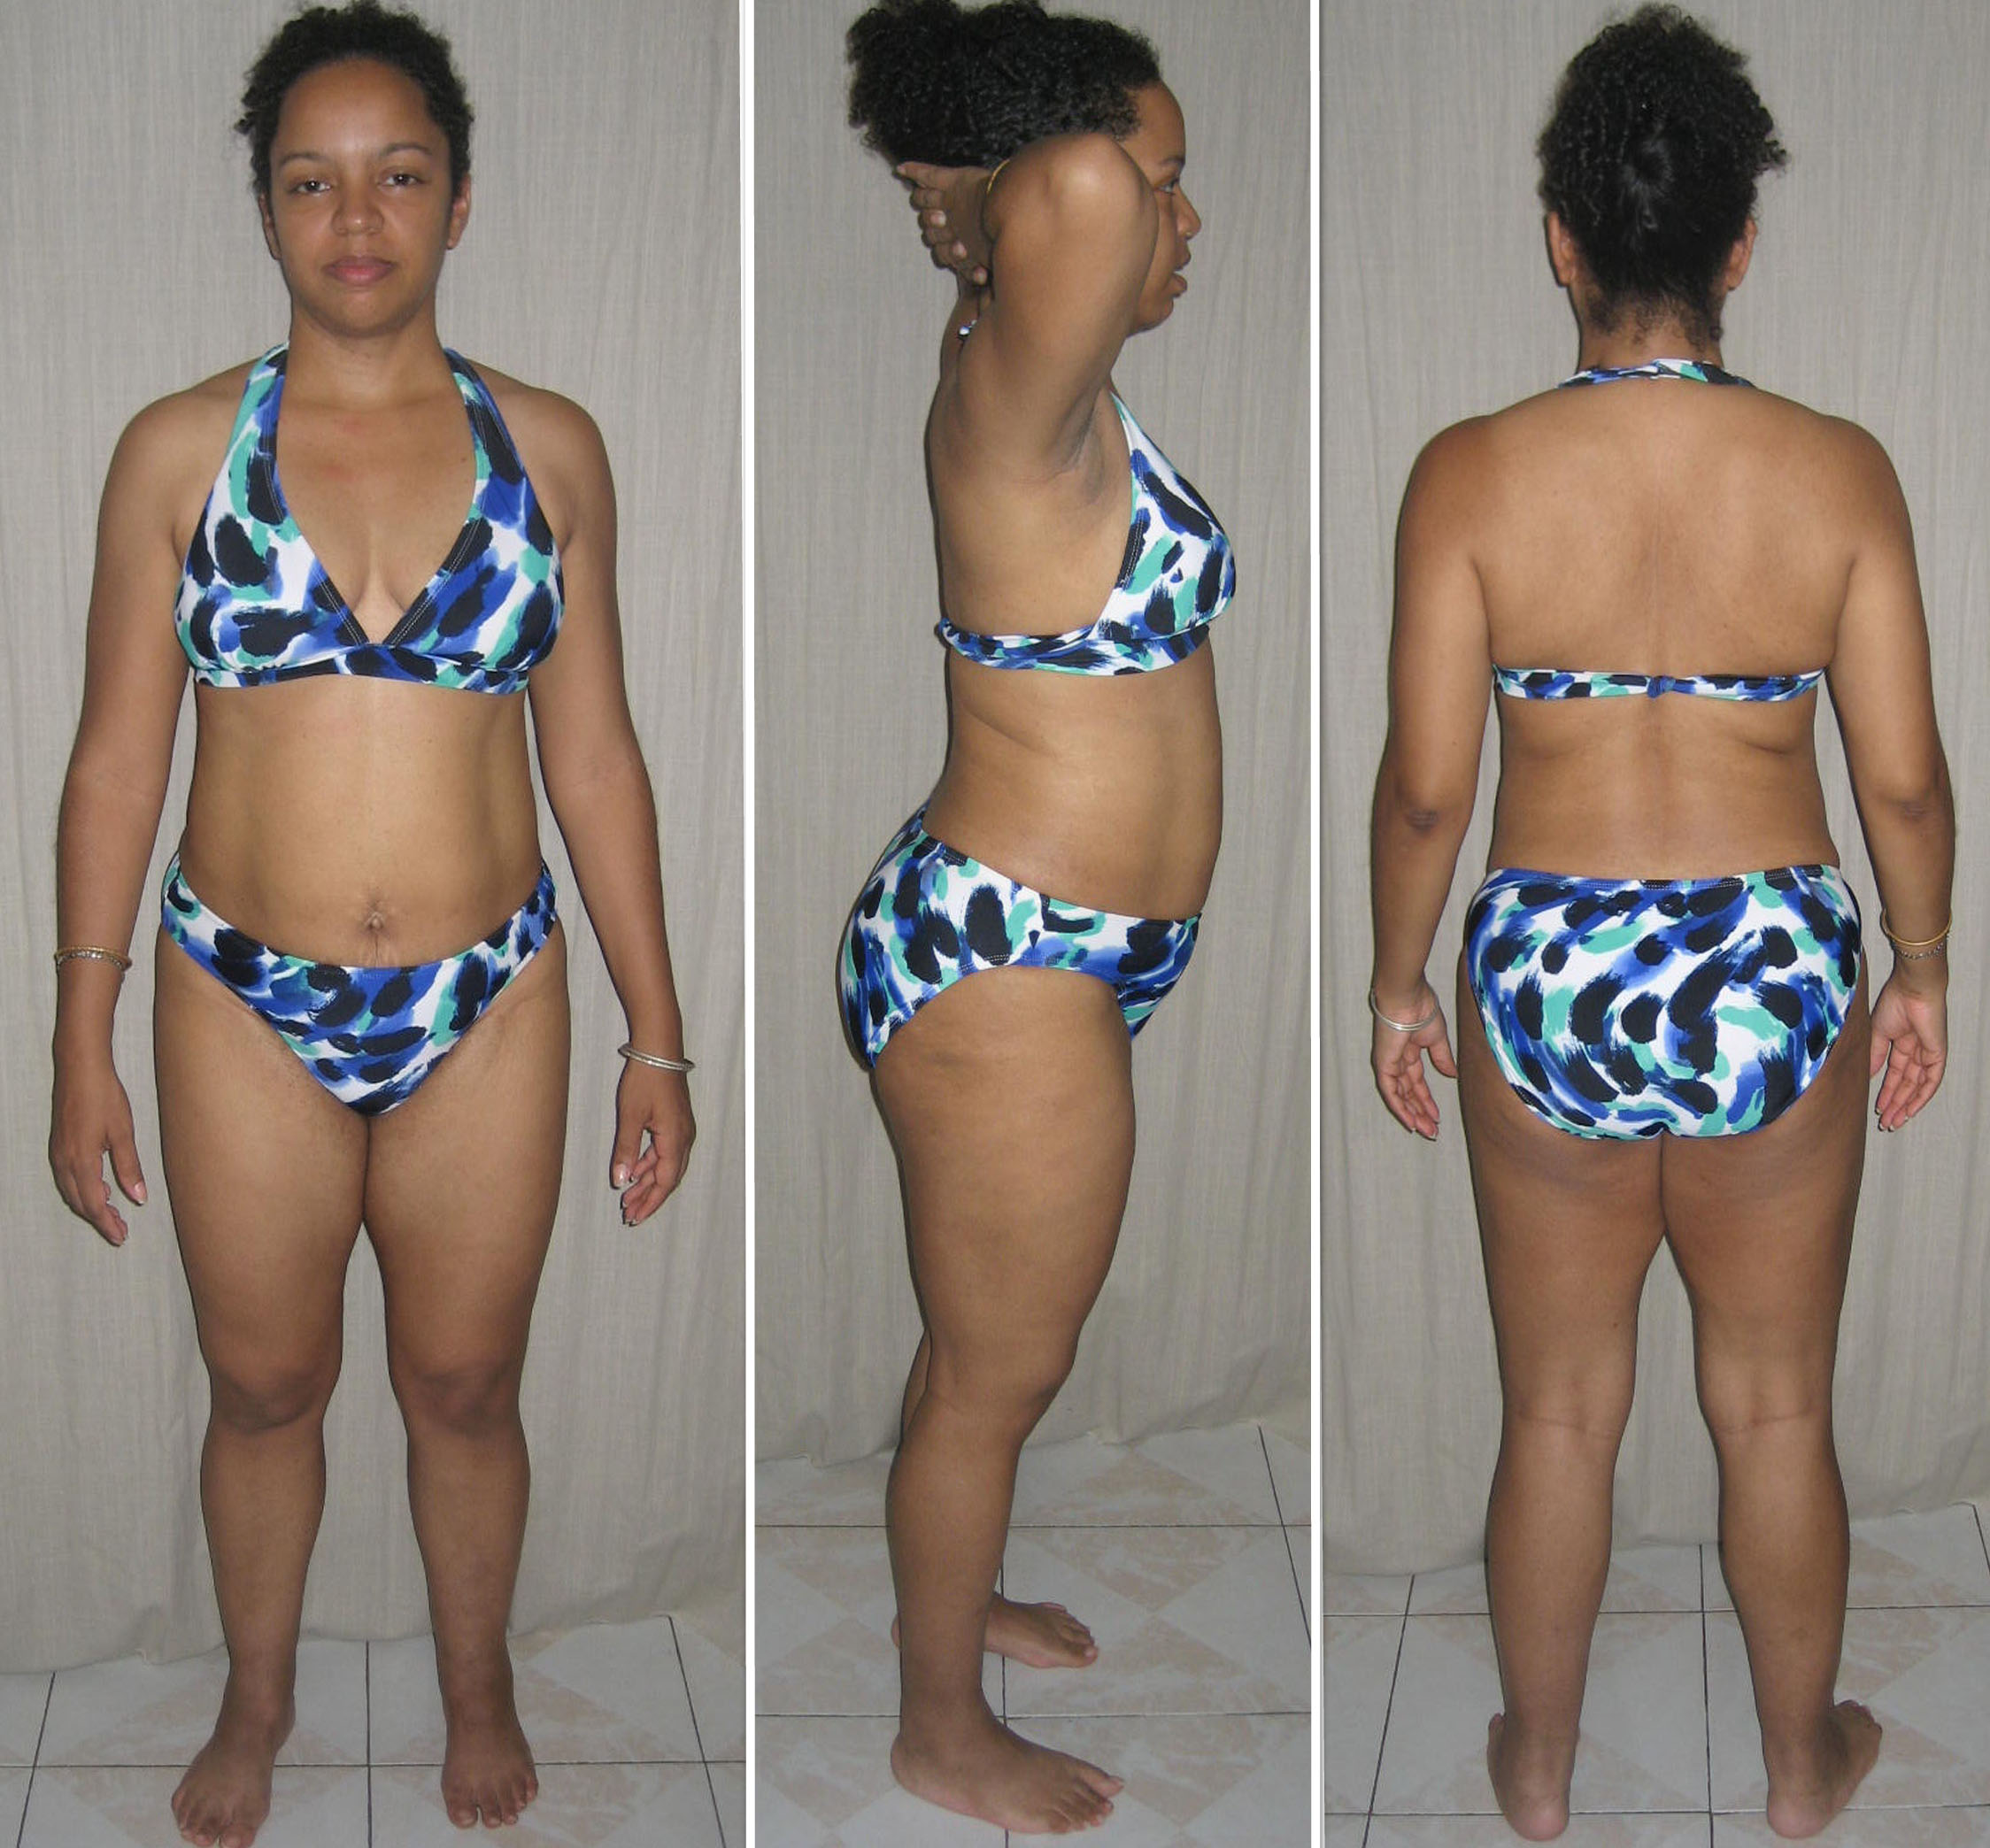
You will need to take a mandatory front, side, and back photo, arms down, just like the before pictures you submitted. These are for comparison but you want to make these look nice and show your best. Once those are done you can be as creative as you want. You can submit 10-15 photo’s if you wish. You need the current days newspaper front page in a photo with you for each outfit and scene, they do not have to be in a “posed” picture.
Gather up photo examples
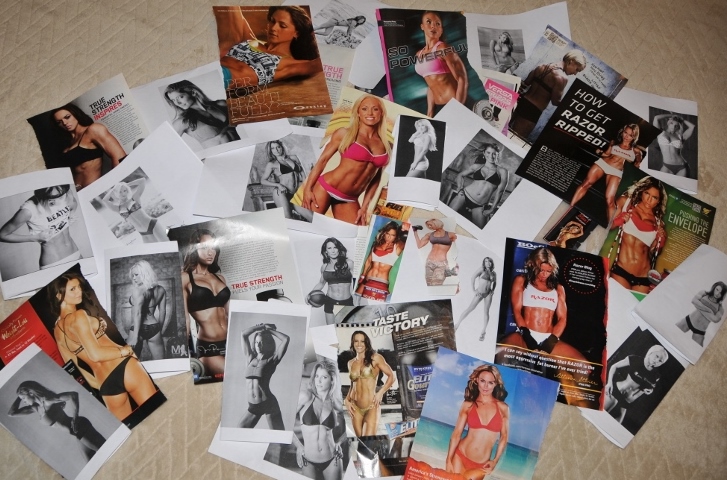
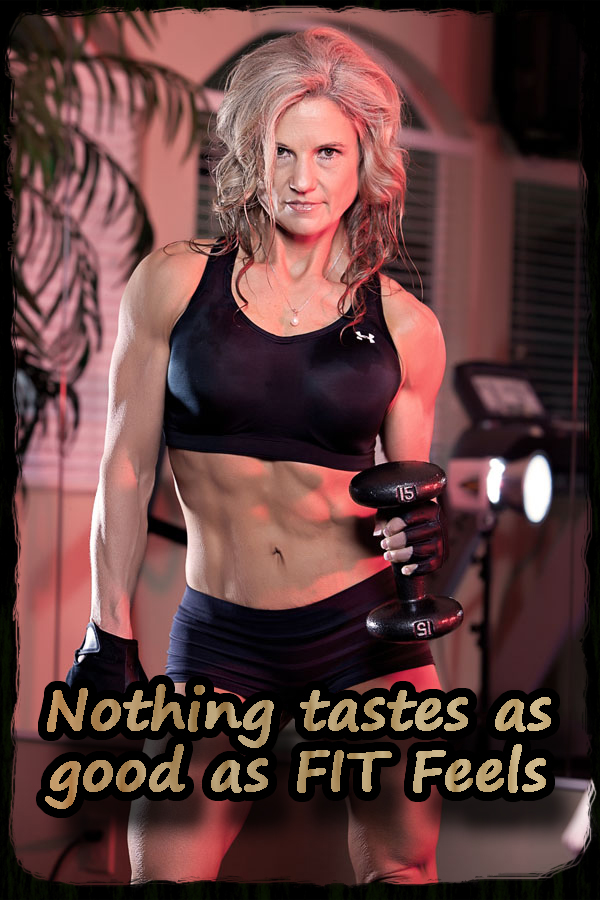
Spend some time finding pictures from magazines, supplement packages, advertisements, and internet searches and save or print them.
Practice imitating the various poses in front of a mirror. Try it from various angles and you might find your right side or left side is better. You will find that some poses look awesome on the model in the picture but not for you, or that with your physique it looks better with the same pose slightly modified, or even greatly modified. This is where spending the time practicing will pay off. Once you practice many different poses you will find the ones that look best for you.
Practice with a camera
Once you decide on poses that look best on you try them with a camera. Lighting is important and we’ll get to that in part 2, but for now practice with a camera because you might find the poses need a few more adjustments. Things are slightly different in the camera lens and on the actual photo. If possible try taking the pictures in various light settings to see what looks best for your look on camera.
It is really important to practice with the camera whether you ultimately take the pictures at home or with a professional photographer. If you choose to use a professional photographer you will want to know ahead of time what poses present yourself the best. Many photographer’s may not be able to help much with posing or know what gives you your best look.
Change up the lighting
Try the same poses in different lighting if possible;
- inside and outside
- morning
- middle of the day
- sunset
- sunlight streaming through a window
- a lamp or two placed in various places around you
Try different facial expressions
Some poses look best with you looking away, others look better with you looking into the lens as if you are looking someone in the eye, smiling or otherwise communicating to them with your expression. Some girls can get away with a pout or sexy look while others look better with a simple smile. Older women like myself usually do better with a smile while we might have done okay with a more pouting look in our younger days.
Try different stances
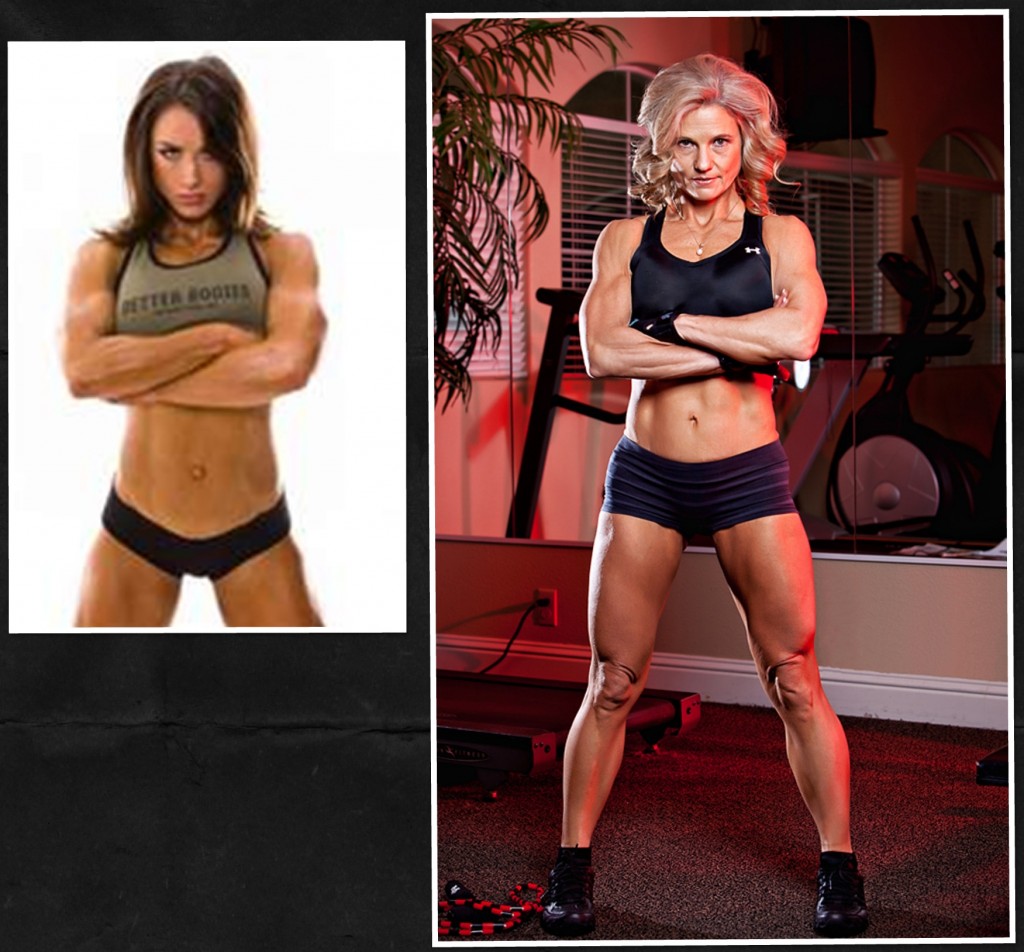
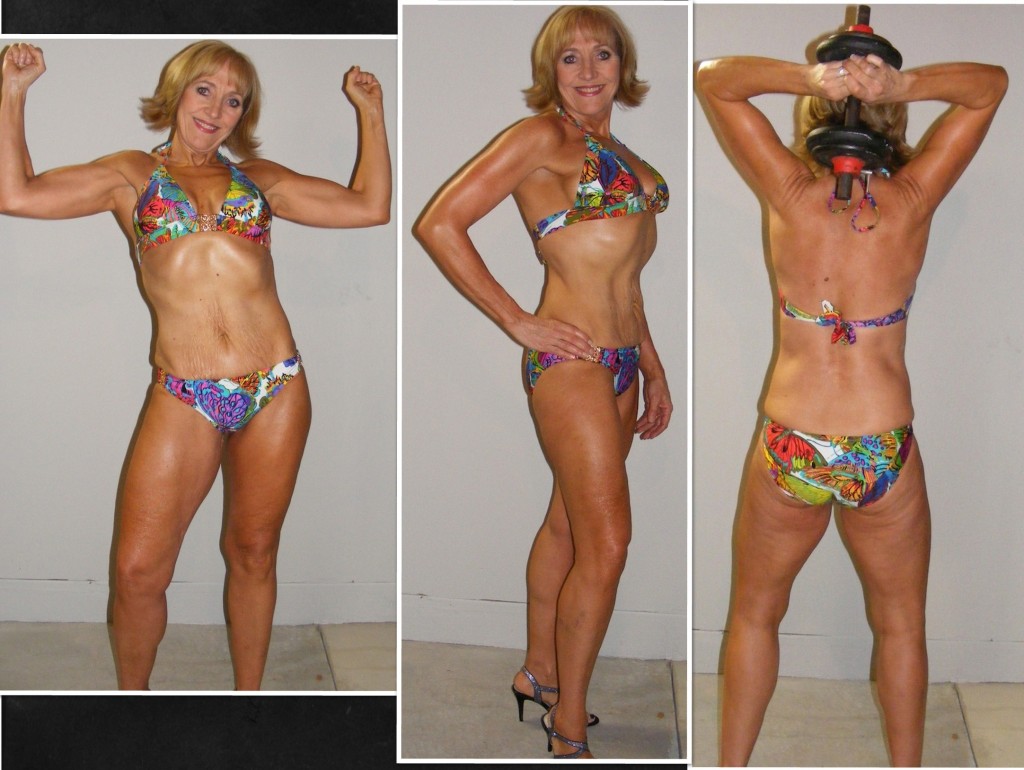
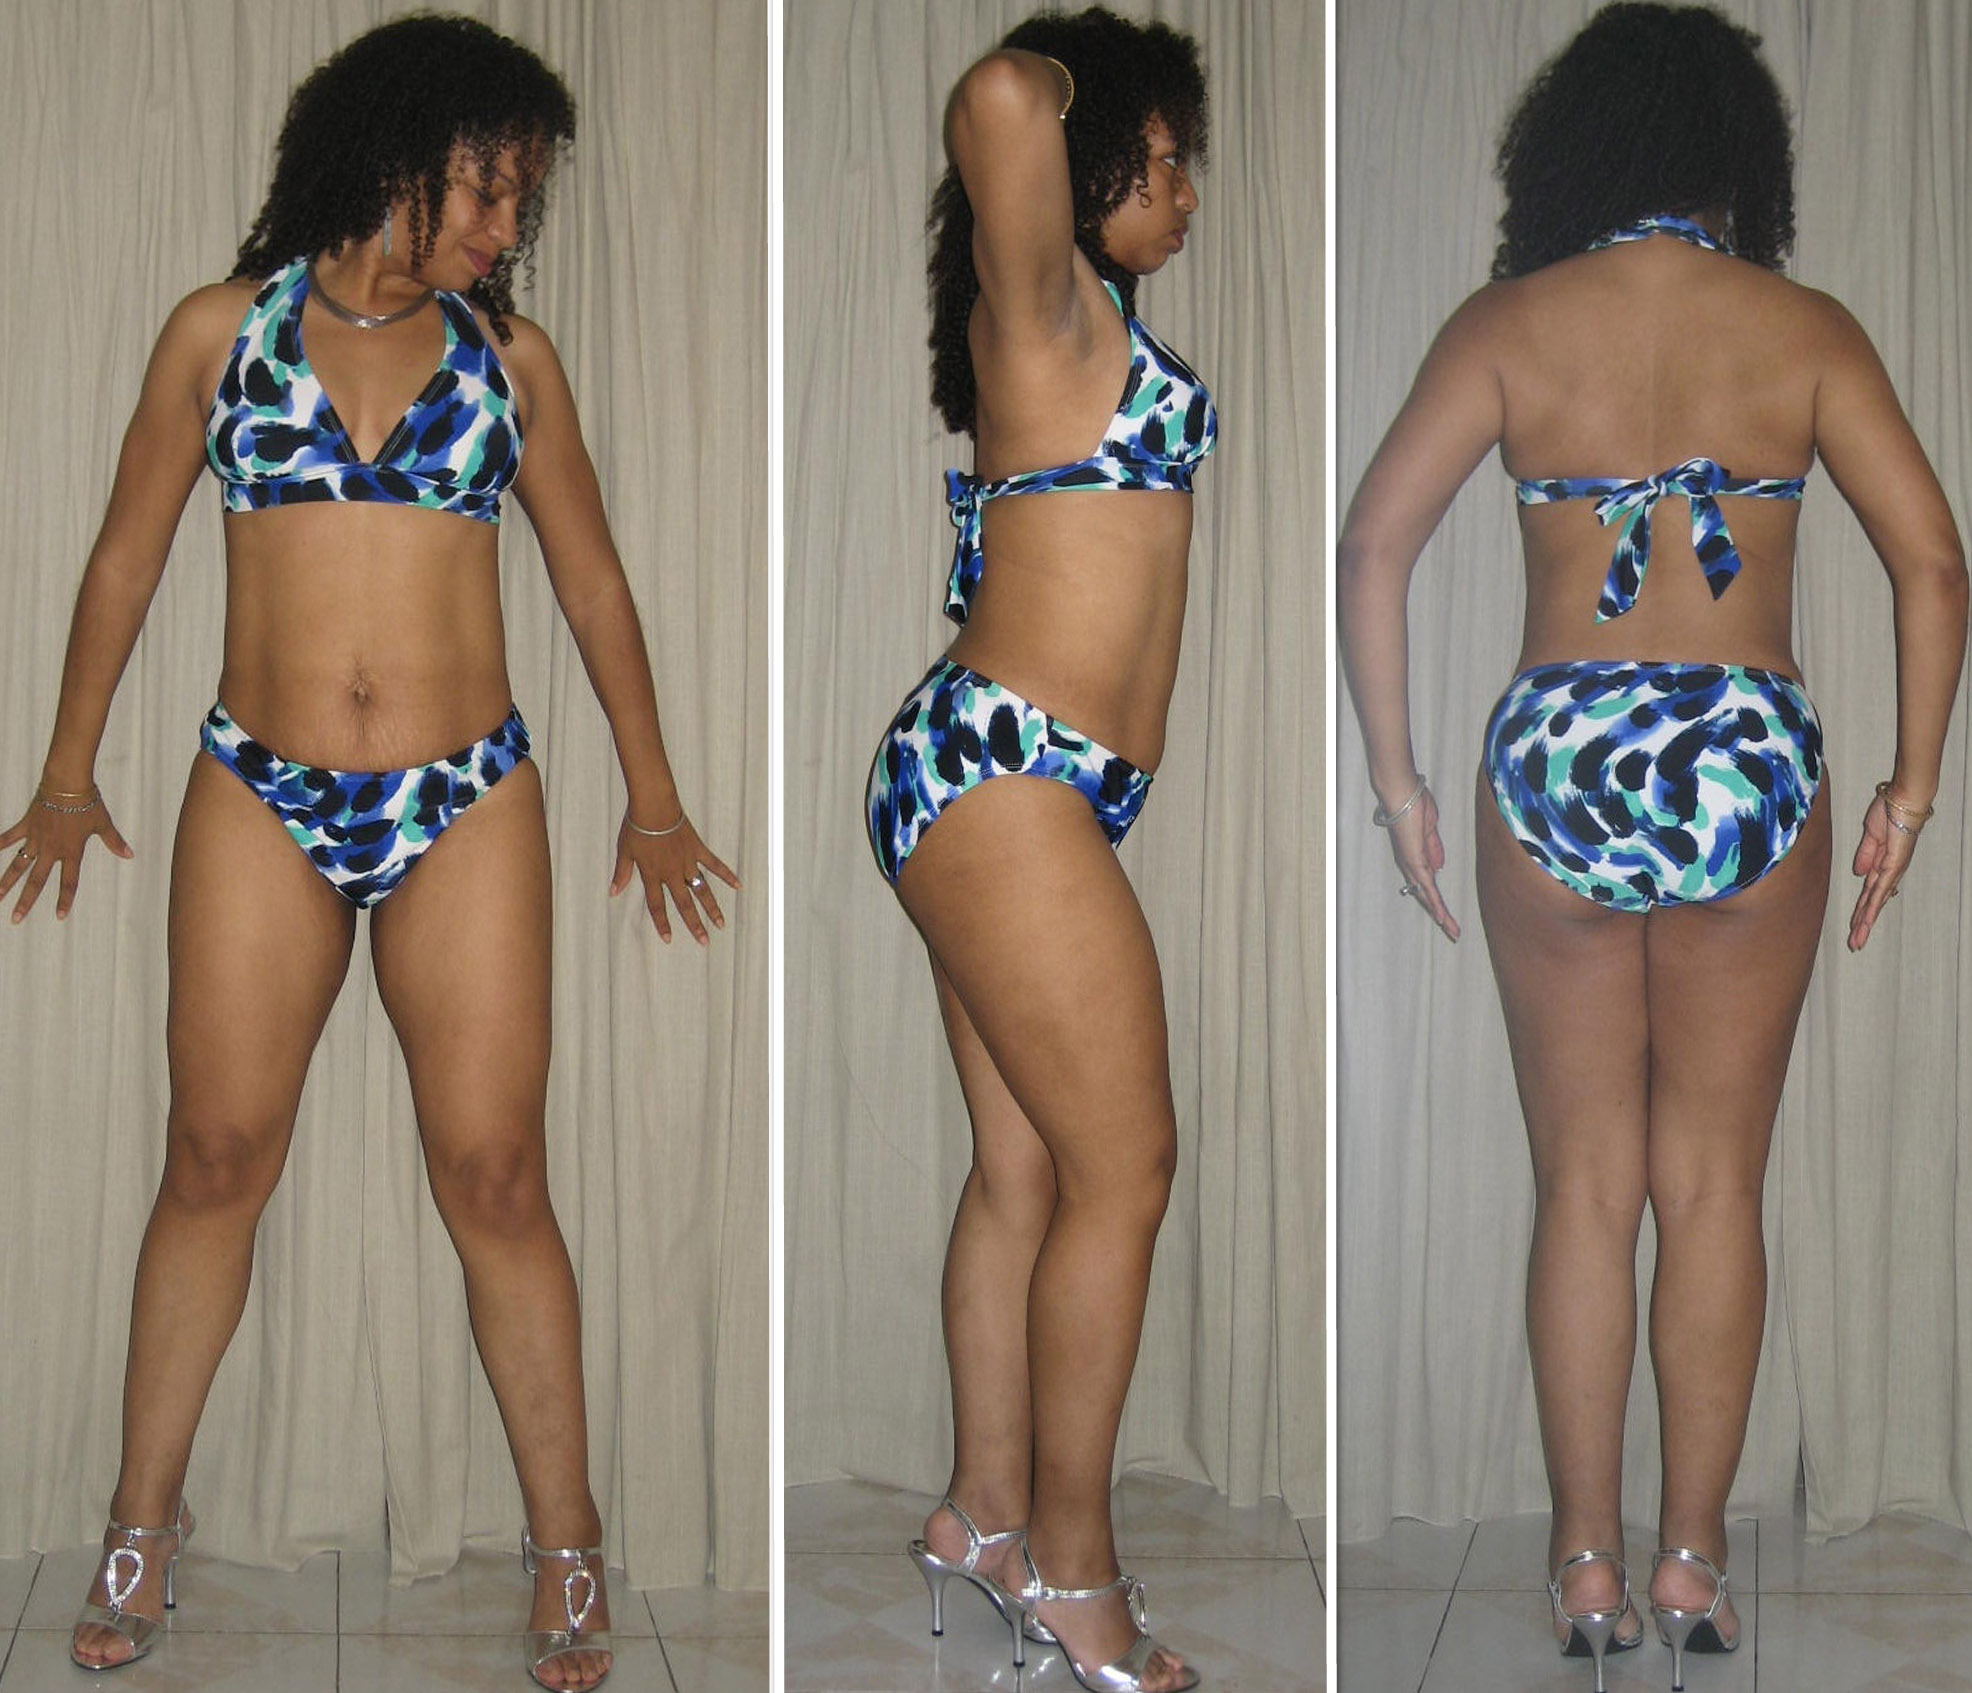
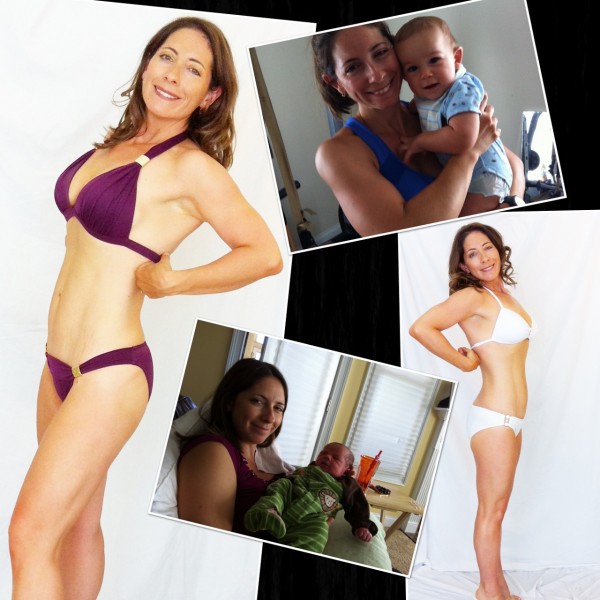
Front poses are usually best offset slightly with a kind of twist to show more of an hour glass shape, but you don’t have to follow any rules. Find what works best for you. I ended up doing some pictures offset and some straight on.
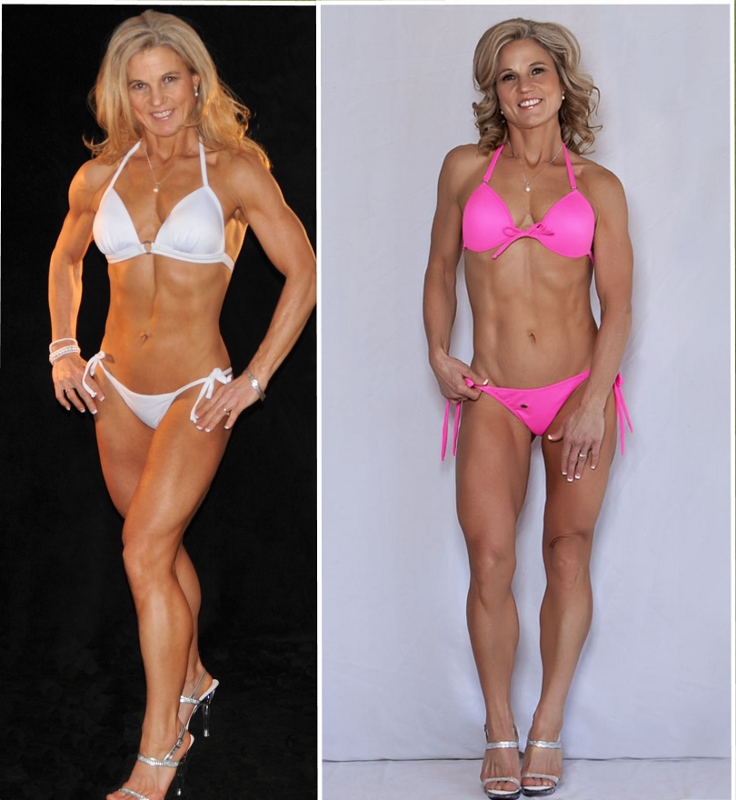
On the left; an offset stance with a slight twist shows more of an hour glass shape. On the right; straight on. Try each if you want.
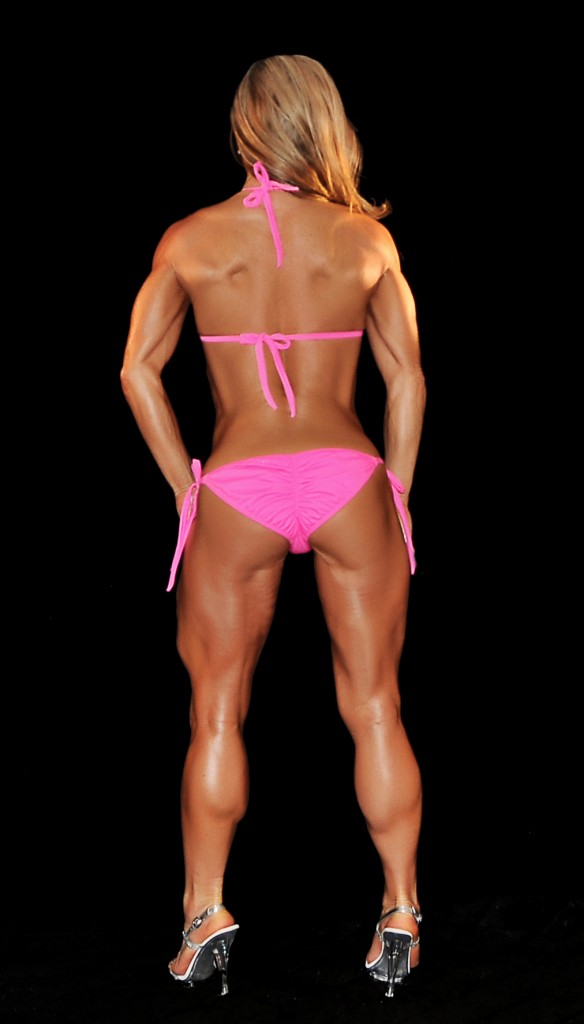
The back view pose
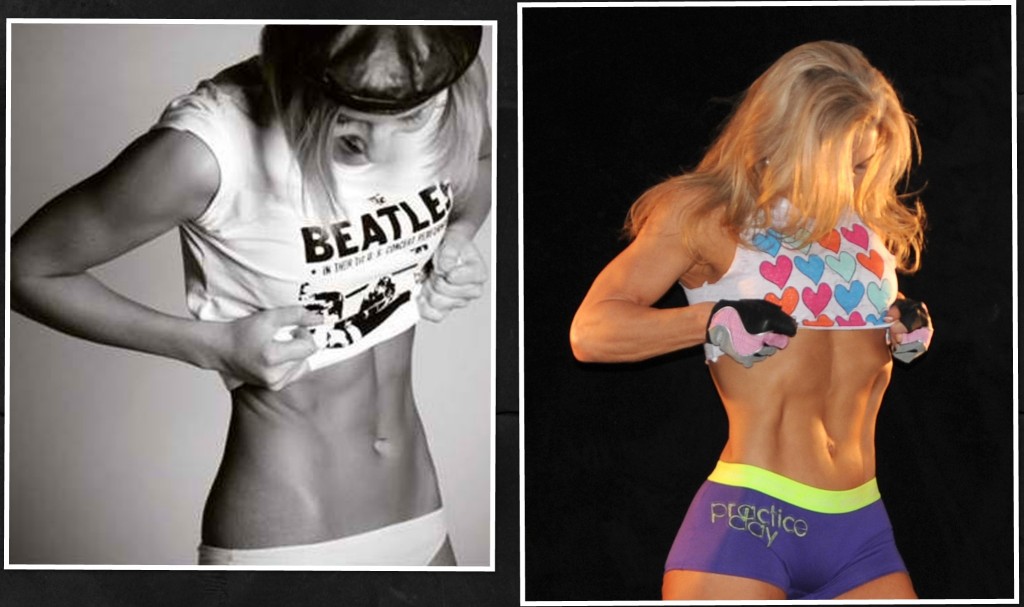
I found this pose to be the hardest. In fact I spent a least an hour getting this one photo. My extremely patient friend Judy helped me. I emailed her what I had and she said “No that needs work”. Then she pointed me to a fitness contest website (BodyBuilding.com IFBB Arnold Classic) with professional fitness models to attempt to imitate. I took Judy’s advice and tried to imitate images from my computer screen. I snapped some pictures, emailed her, and waited for her response. She responded with feedback on what to improve and we repeated this process at least 10 or more times. It was frustrating, hard, and tedious but I am very grateful for the help I got from Judy. It is a difficult pose but with practice you will see how you need to arch your back, set your head, neck, and shoulders.
Enjoy your own progress, your own physique, and have fun!
Most of all have fun and enjoy the progress you have made with your shape. The end of the contest is only five weeks away. If you have been consistent since the beginning you should be seeing some progress so enjoy those hard earned victories now while you keep moving toward your goals.
Do not compare yourself to others
One key thing to remember when using fitness model photo’s like this is to not compare yourself to them. You have your own beauty, your own physique, your own gifts, and you have no idea what the model did to get her look. The pictures are just examples for trying to figure out what poses bring out your best shape. Do not aspire to be them; aspire to be the best you possible.
On Friday we’ll cover part 2; Photography, lighting, photo scene selection and setup.
-Ro

New Comments